Installation of our plant panels
Our product is easy to install and suitable for all environments. Enhance a room, create a sound-absorbing wall, or use it as a room divider!

A smooth solution for easy installation
Our plant panels are easy to assemble. Each 90 x 90cm panel comes with 4 wall brackets with mounting screws. To ensure proper installation, you’ll need to measure, draw straight lines, and work with a level or a cross laser to position the brackets correctly.
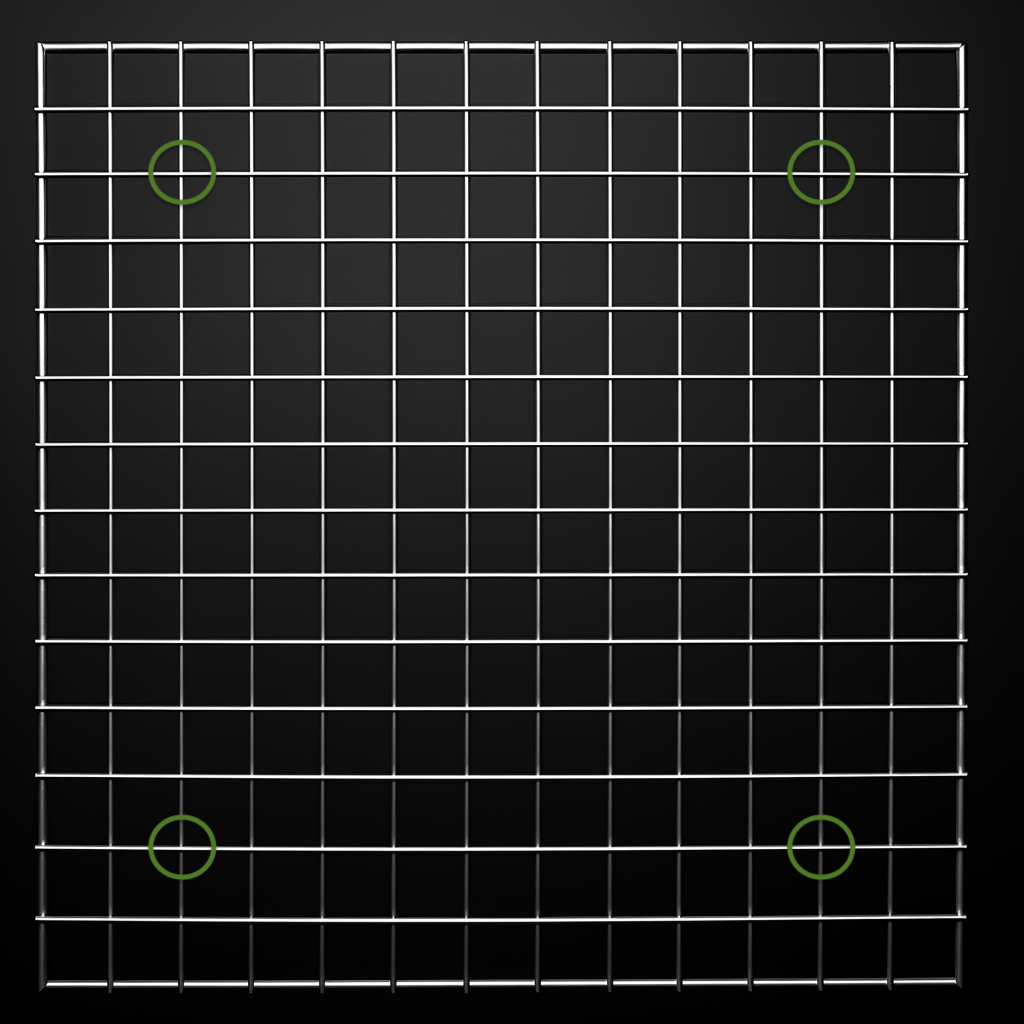
Start by always removing 1cm from the surrounding wall, floor, ceiling, or other panels, as the green walls cover so well that the gap is comfortable during installation. Measure 10cm in from each edge to determine the placement of the wall brackets. Mount these on the wall, and when you’ve just tightened the screw, ease it slightly to make the wall bracket a bit flexible. When the panel is then placed in the bracket, it is easily secured with the ring that is screwed onto the wall bracket.
Each panel has a letter; A, B, or C. Placing these in a pattern-breaking way so that each individual panel is never next to itself creates a perfectly wild surface. Add some extra add-on plants, and suddenly it’s impossible to see any recurring patterns. When assembling a surface, it’s important to have panels that cover the entire area per square meter, making it seamless.
You can always cut and trim the panels to puzzle together surfaces smaller than the panel’s width or height. Think a bit like Tetris and be meticulous with measurement and cutting. You can easily cut with bolt cutters or an angle grinder. Small pieces of the panel can be attached with one or two wall brackets.

Step 1.
– Measure out the bottom line on the wall.
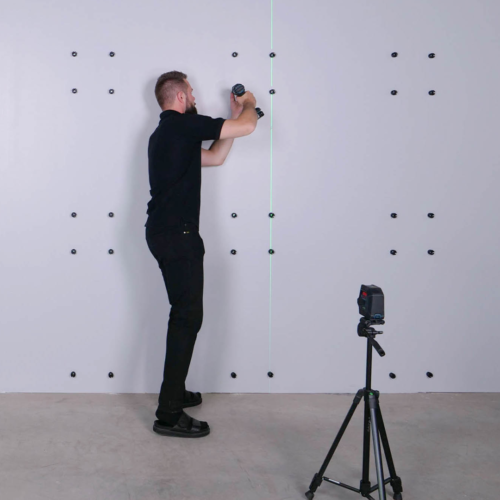
– Use a cross laser to measure out a straight line to start with (see image), and begin from the bottom, working upwards.
– Measure out where the mounts should be installed (see image 2).

Step 2.
– Create one horizontal line at a time.
– Ensure to always leave a 1cm gap between each panel. Keep this in mind when making markings for wall mounts.

Step 3.
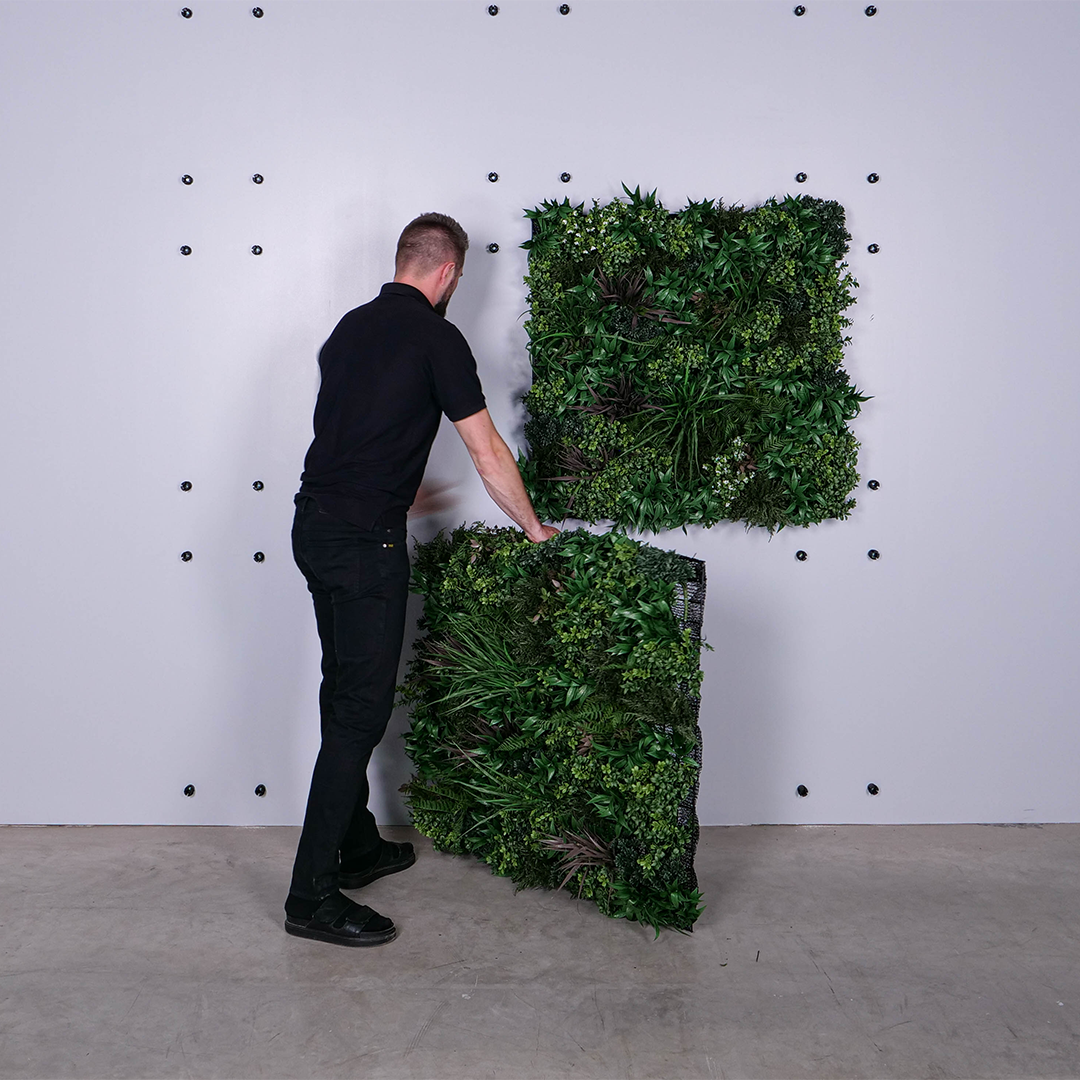
– Test by hanging up 2 panels next to each other to ensure that everything fits properly.
– Start by hanging the panel on the top mounts.

Step 4.
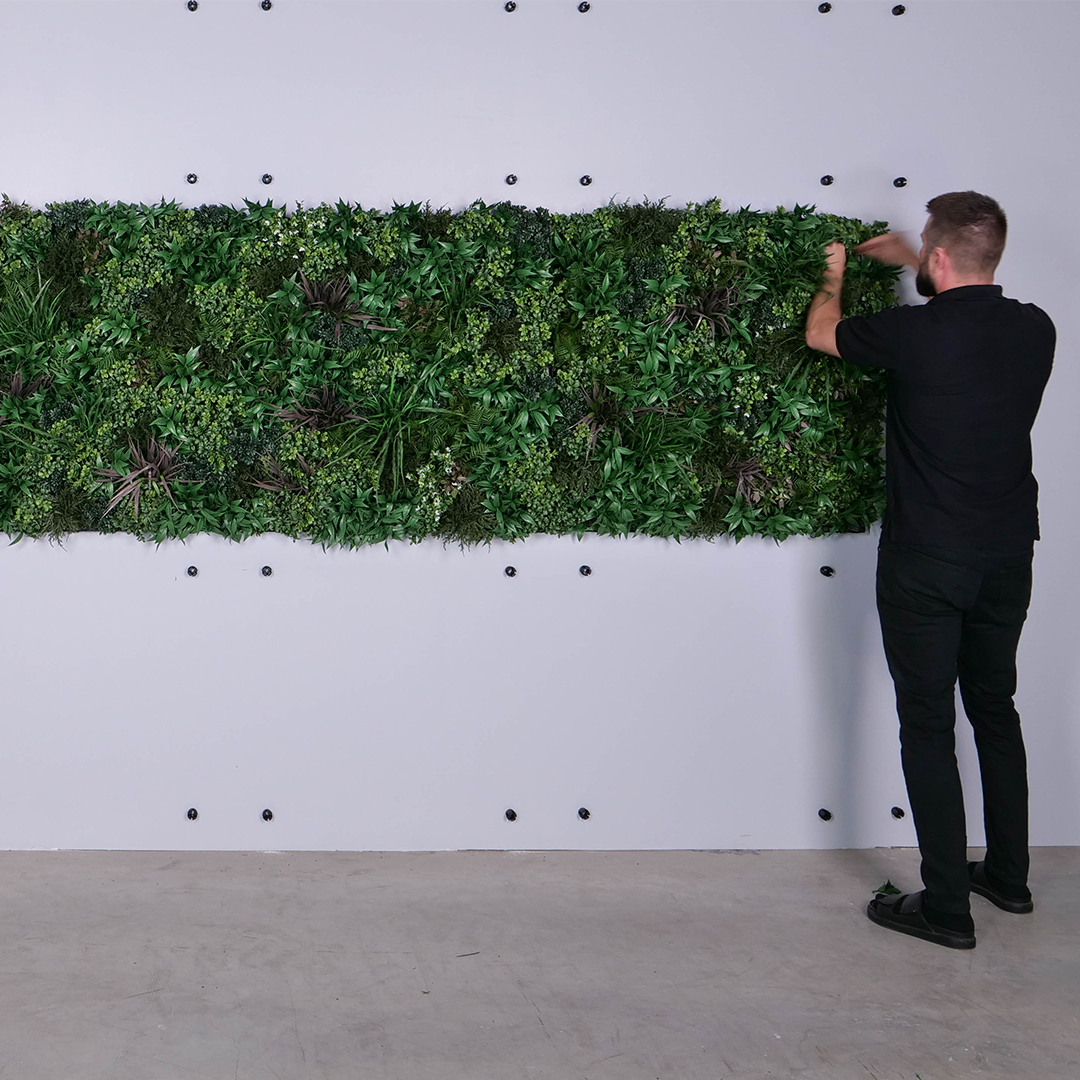
Once all panels are mounted, bend and pull downward on all plants on each panel to make them “stand out” and create a lush feeling. Then, decorate any joints with extra plants and place additional plants to add an even more personal touch.
